How to Make a DIY Framed LEGO Wall for Under $150
One of the first things we knew we wanted in our kids’ playroom was a dedicated LEGO area. We inherited a treasure trove of LEGOs from one of our relatives and the kids are at the perfect ages to make good use of them. But until now the LEGO creations had been stacked haphazardly and collecting dust in the corner.
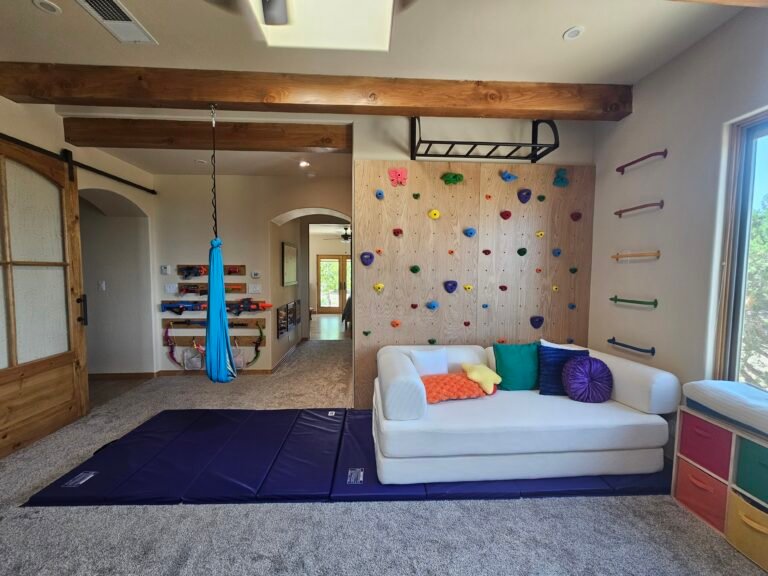
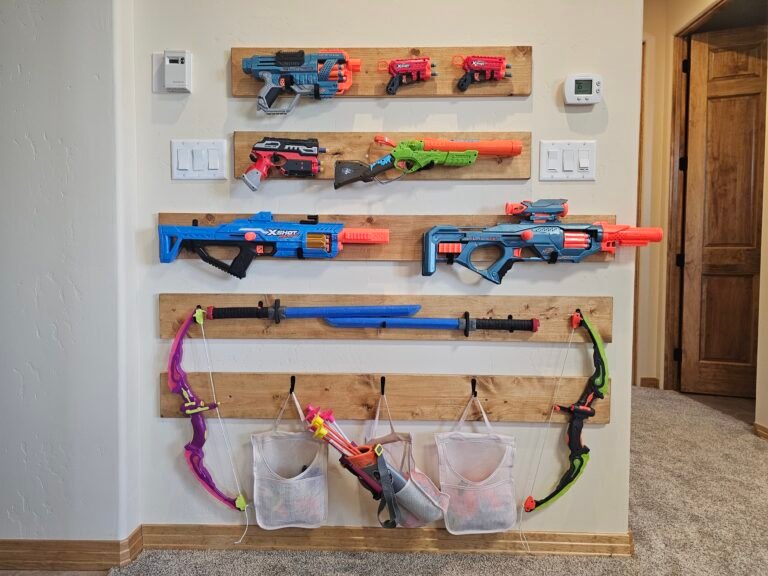
I wanted something that looked intentional—not just a few LEGO baseplates stuck to the wall. Since the rest of the playroom included stained wood accents, I decided to build a framed LEGO wall that matched the climbing wall, Nerf wall, and other woodworking projects throughout the room.
This ended up being one of the simplest projects in the room, but also one where we made the most mistakes!
Project Details
Difficulty: Beginner
Time: 3–4 hours
Approximate Cost: $125
Materials
- 2′ × 4′ × ⅛” hardboard project panels
- Adhesive-backed LEGO-compatible baseplates
- Wood moulding
- Wood stain
- Stainable wood filler
- Wood screws
Tools
- Circular saw (if cutting the panels)
- Tape measure
- Level
- Stud finder
- Drill
- Miter box and saw
- Sandpaper
- Small file
Why We Built It
We wanted a permanent place for the kids to build and display LEGO creations.
Instead of taking over the dining room table, the LEGO wall gives them a place where unfinished projects can stay up as long as they want.
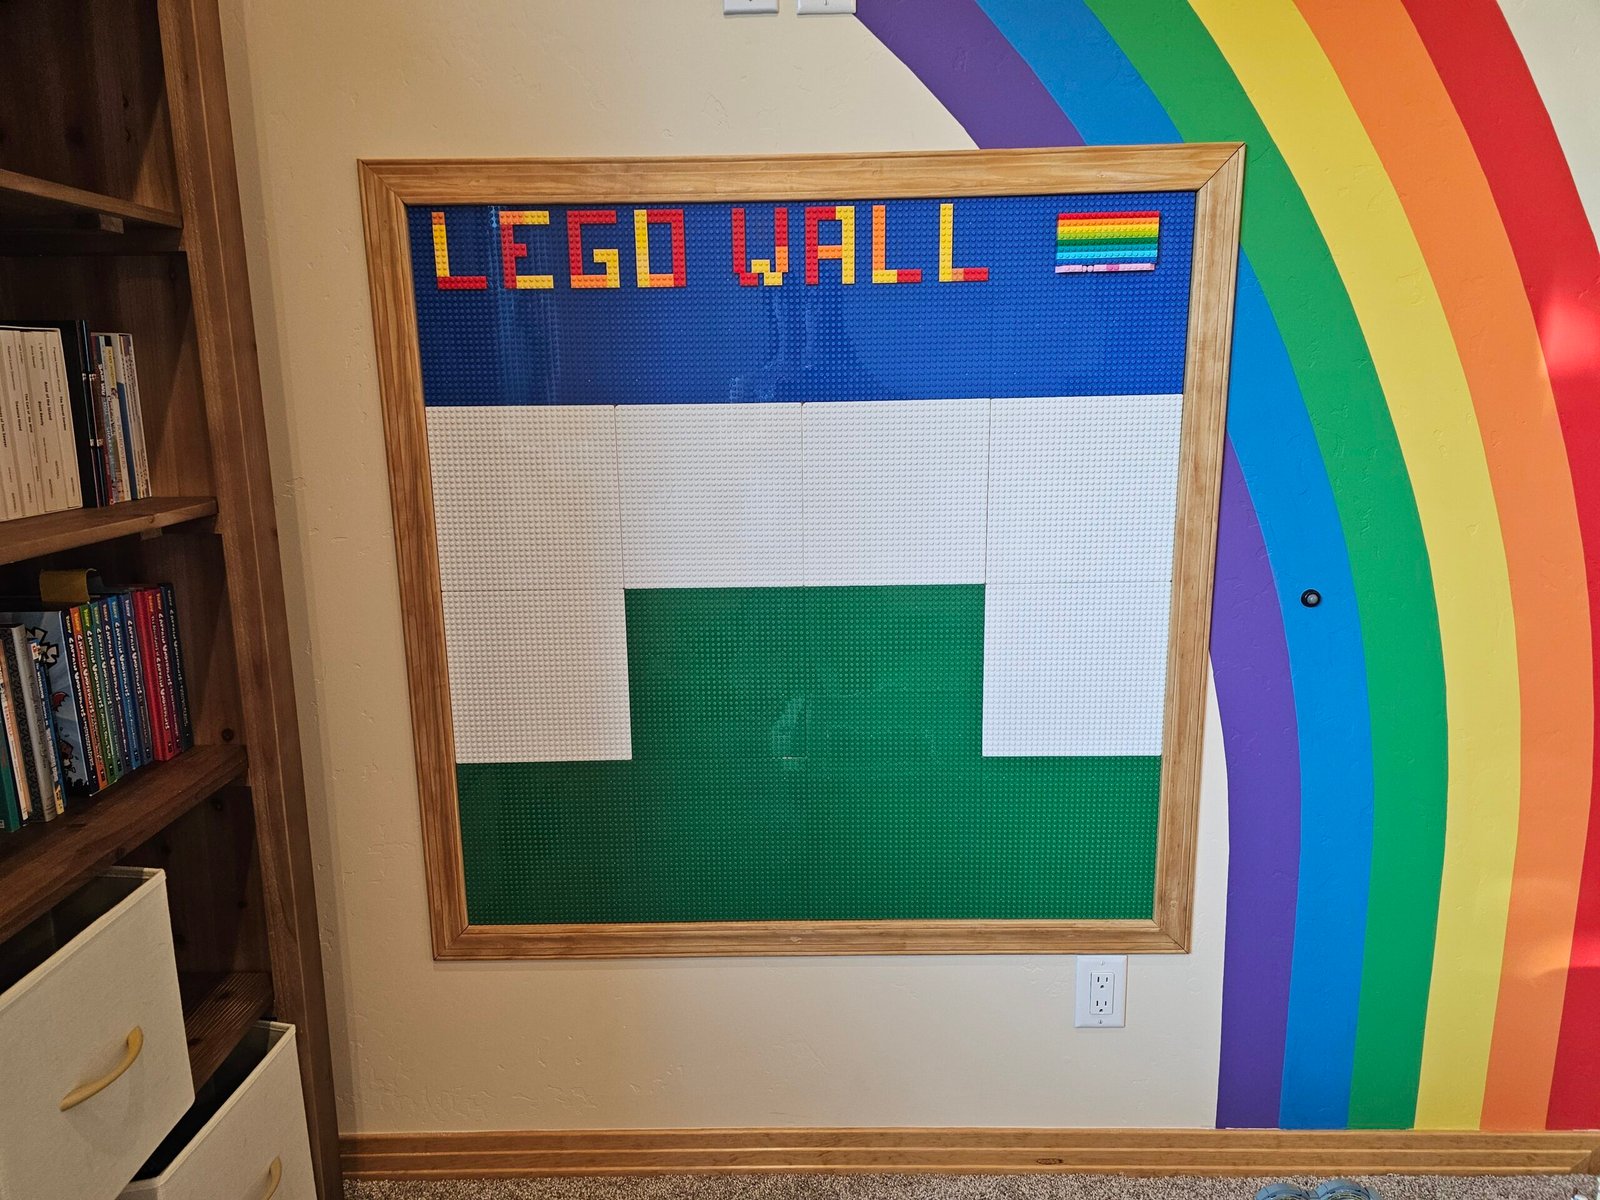
I also wanted the LEGO wall to fit with the overall design of the room. By matching the stained wood used throughout the playroom, the finished project feels like built-in furniture instead of toy storage.
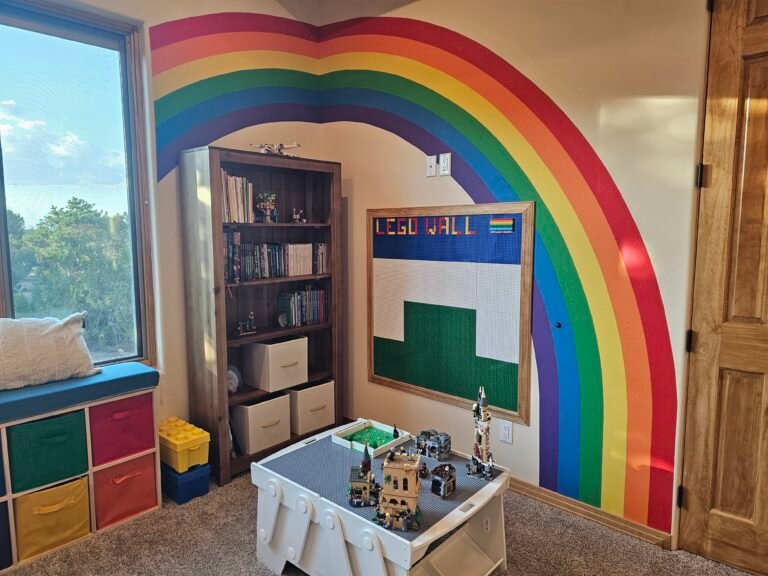
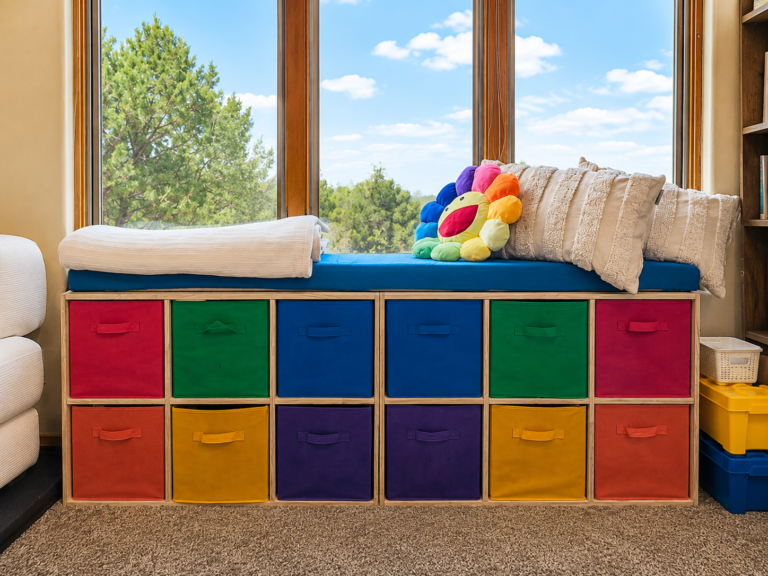
Combined with the LEGO table and some dedicated space on the adjacent bookshelf for LEGO creations and storage cubes to hold extra LEGOs, it ended up creating a lovely little LEGO corner for the kids.
Step 1: Mount the Hardwood Panels
For the backing, I used 2′ × 4′ × ⅛” hardwood project panels.
After measuring the space, we cut the panels to size and mounted them directly to the wall, making sure everything was level before attaching the LEGO baseplates.
Mounting the panels first made it much easier to keep the baseplates straight.
Note: if I were to do this again, I would leave a border to allow us to glue the frame on!
Step 2: Apply the LEGO Baseplates
Once the backing panels were securely mounted, I peeled the backing off the adhesive-backed LEGO-compatible baseplates and pressed them firmly onto the MDF.
This was probably the easiest step of the entire project.
Because the panels were already mounted and level, it was simply a matter of carefully lining up each plate before pressing it into place.
Step 3: Stain the Moulding
To tie the LEGO wall into the rest of the playroom, I wanted the frame to match the climbing wall, Nerf wall, and other wood accents.
Before cutting anything, I sanded and stained the moulding using the same stain I’d used throughout the room.
I’m really glad I took this extra step because it completely changed the finished look. Instead of feeling like a plastic LEGO display, it felt like it belonged with the rest of the built-ins.
Allow the stain to dry completely before cutting and installing the moulding.
Step 4: Cut the Frame
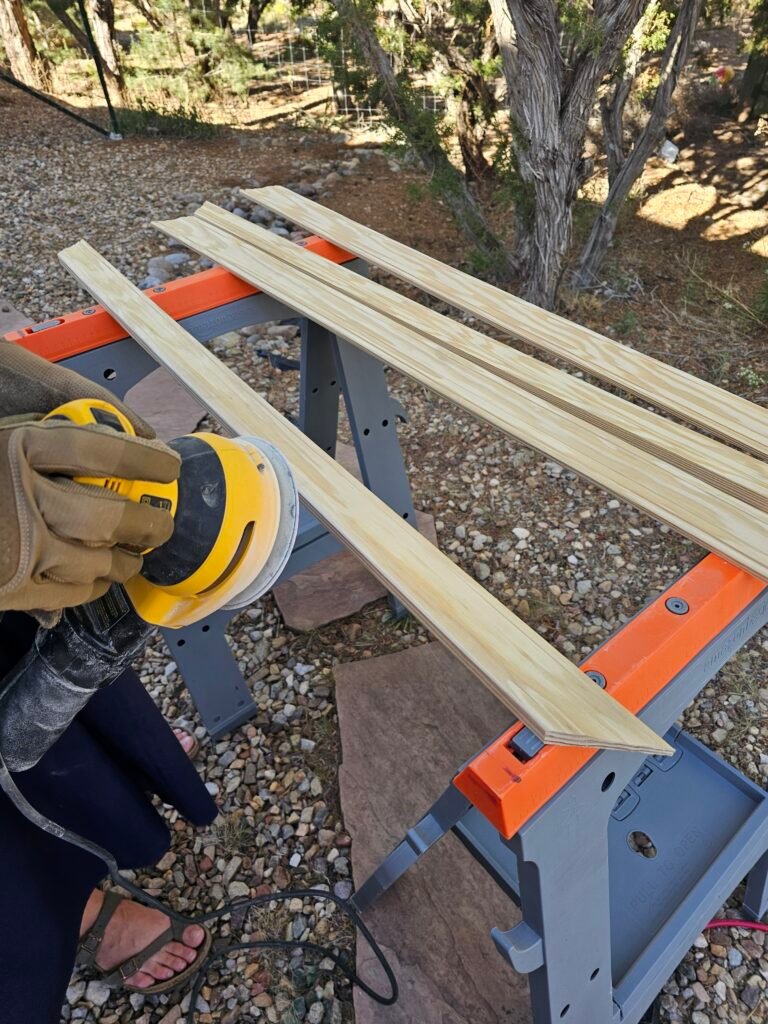
Once the stain had dried, we measured each side of the LEGO wall and cut the moulding using a miter box with 45-degree corners.
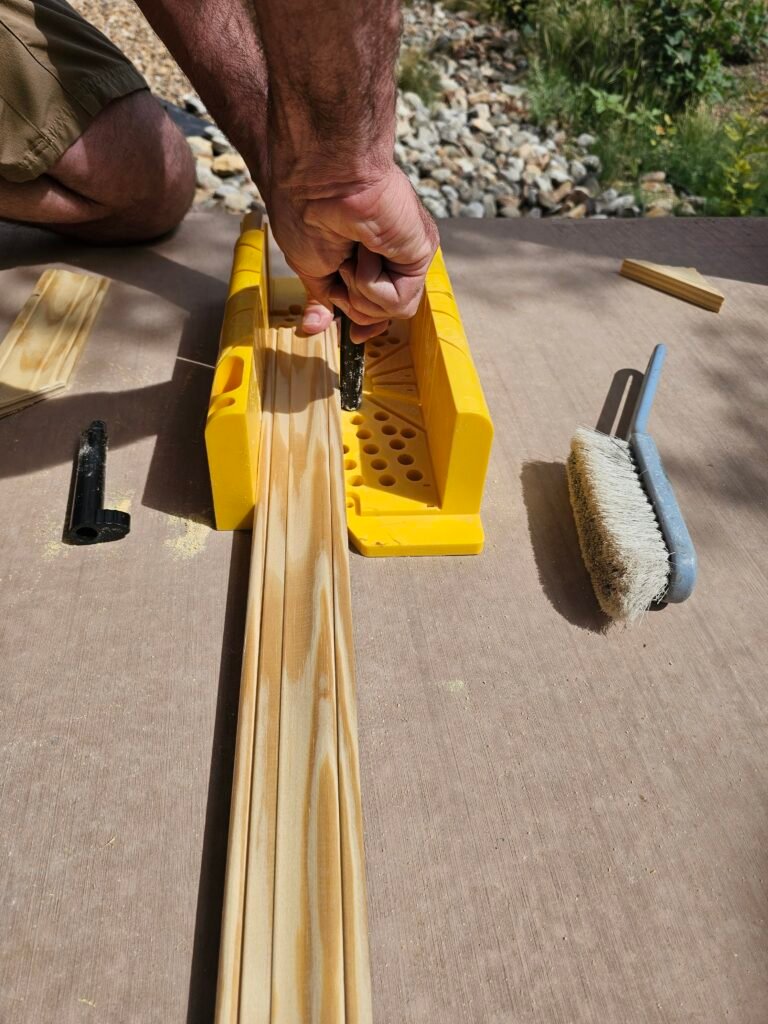
We measured carefully, but despite our best efforts one of the corners ended up just slightly too long.
Instead of recutting the entire piece, we used a small file to remove just enough material from the longer point until the corner fit together nicely.
Once everything was assembled, it was almost impossible to notice.
That was a good reminder that woodworking doesn’t always have to be perfect to look professional.
Step 5: Install the Frame
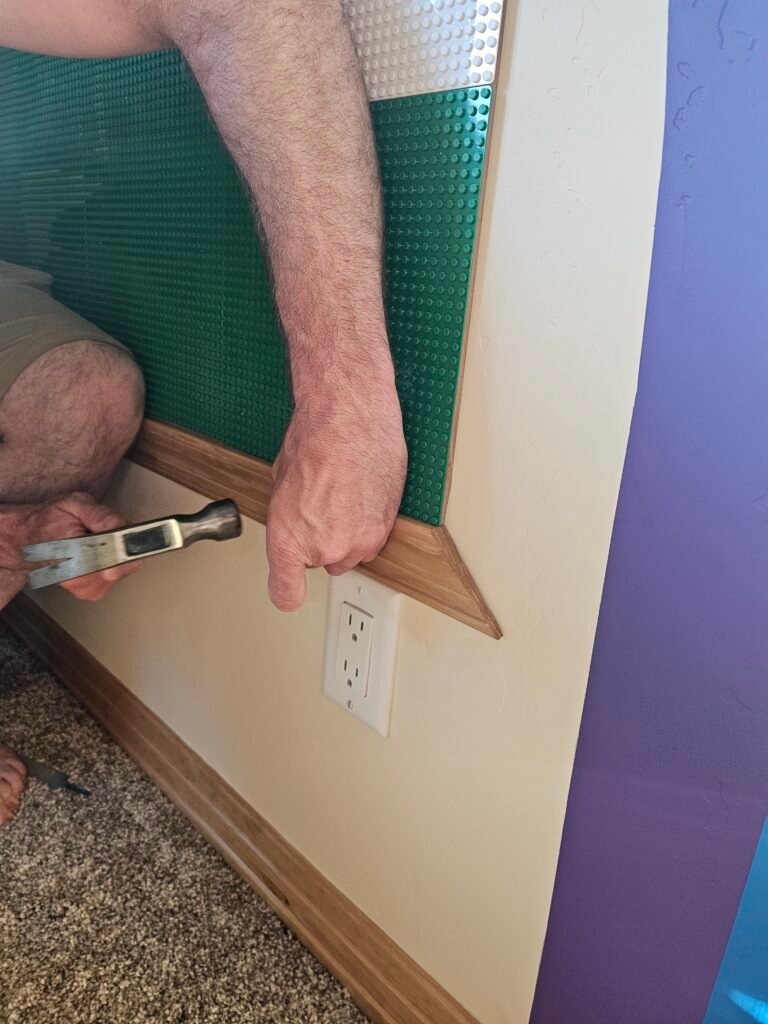
Originally, I hadn’t planned to frame the LEGO wall.
After seeing the baseplates installed, though, I realized the project really needed a finished border.
Because I had already covered nearly the entire hardwood panel with LEGO baseplates, there wasn’t any exposed panel left to glue the moulding to.
Instead, we screwed the moulding directly into the drywall around the outside of the LEGO wall. We were able to screw the top and bottom pieces directly into studs, but for the sides we had to screw into drywall only which wasn’t as sturdy and resulted in the need for a drywall anchor in one.
As I mentioned before, if I were building another one, I’d leave a narrow border around the outside of the hardwood panels before installing the baseplates. That would allow the frame to be glued directly to the panel instead, making installation easier and creating an even cleaner finished product.
Step 6: Fill the Screw Holes
After attaching the frame, I filled the screw holes using stainable wood filler.
Once the filler had dried, I lightly sanded it smooth and applied stain over the filled areas.
This simple step helped hide the fasteners and made the frame look much more finished.
Finished Project
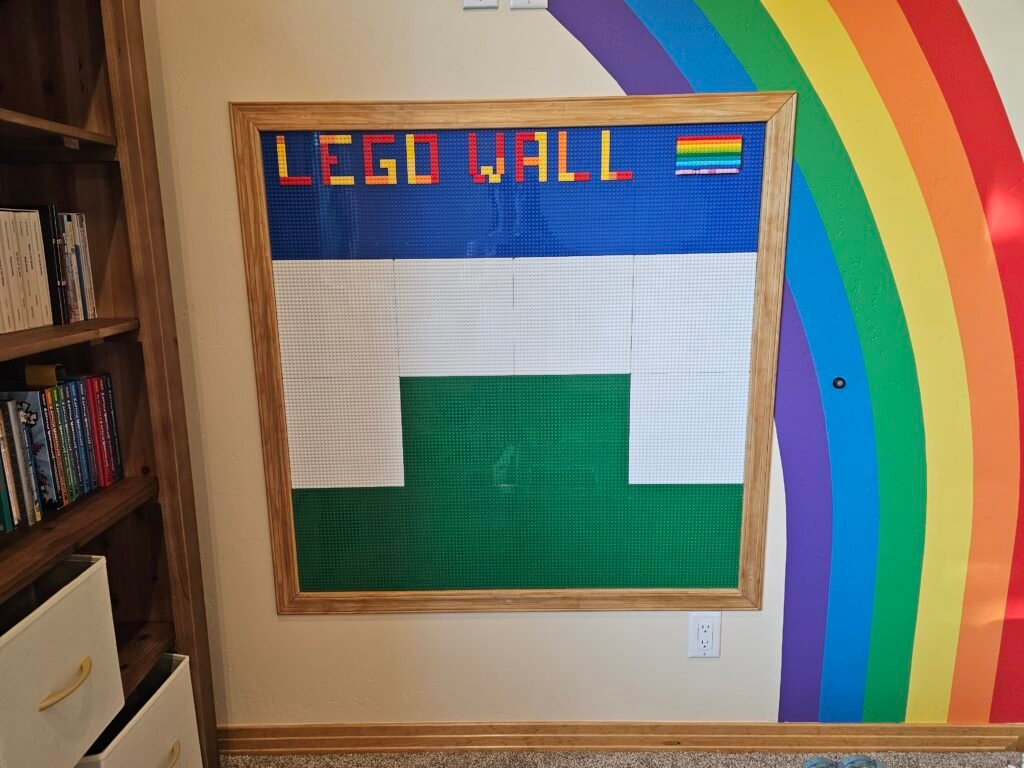
This ended up being one of my favorite additions to the playroom.
The kids finally have a dedicated place to display their favorite LEGO creations, and the framed design blends naturally with the climbing wall, Nerf wall, and other wood features throughout the room.
Lessons Learned
- Mount the backing panels before applying the LEGO baseplates.
- If you think you might add a frame, leave a narrow border around the outside before installing the baseplates.
- Stainable wood filler is a great way to hide screw holes in stained trim, though you could avoid this by leaving a border and glueing them on instead.
What I’d Do Differently
Overall, I’m really happy with how this project turned out.
If I were building another LEGO wall, I would plan for the frame from the beginning and leave enough exposed hardwood around the edges to glue the moulding directly to the panel instead of fastening it to the wall.
I would probably also stick with a single color for the baseplates. I think the 3 different colors ended up looking more chaotic than I had hoped.
Other than that, I wouldn’t change much. I really like the way it came out in the end – the wood frame makes it look SO much better.
Related Projects
- DIY Indoor Climbing Wall
- DIY Wooden Nerf Display Wall
- Handmade Explore Sign
- Rainbow Playroom Mural
- Adventure Playroom Reveal