DIY Wooden Nerf Gun Display Wall
One storage challenge in our play room was Nerf guns. Some of them are too long to fit into our plastic toy bins.
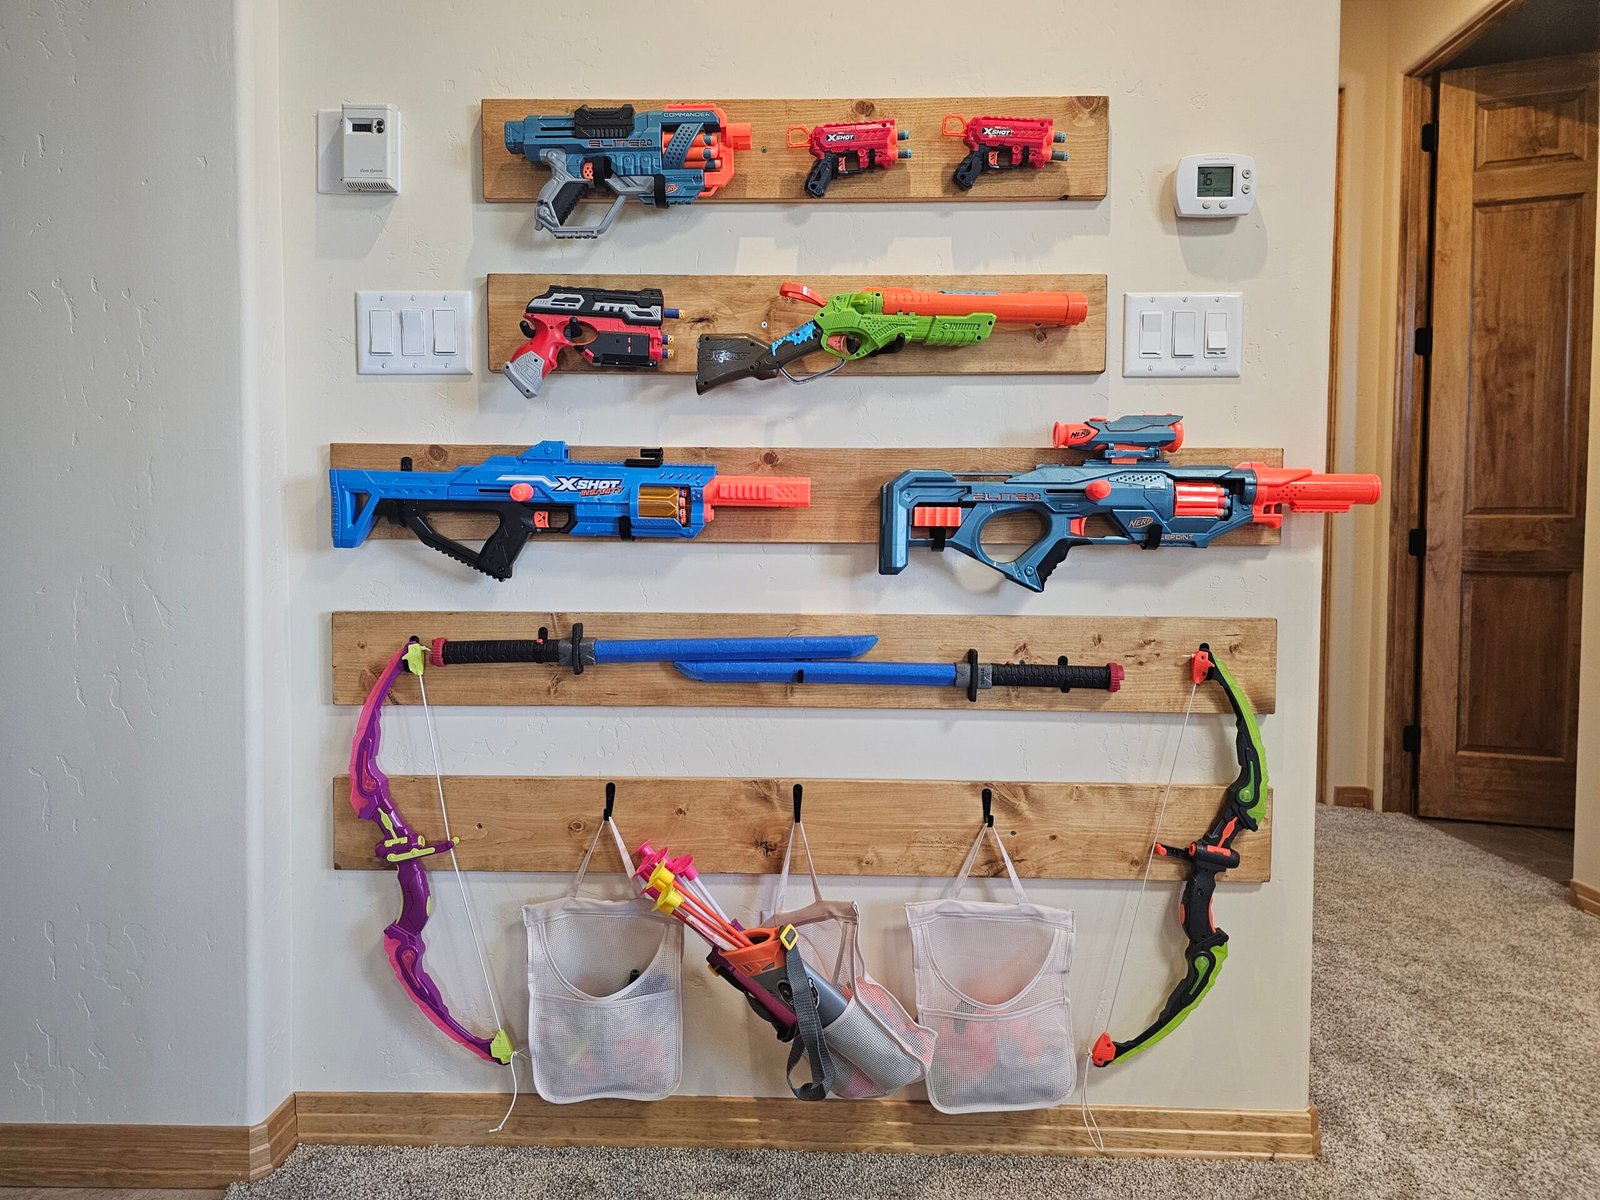
Rather than using a traditional pegboard, I decided to create a display wall using stained 1×6 boards. The finished project feels much more like built-in décor than toy storage, while still making it easy for the kids to find and put away their favorite blasters.
Project Details
Difficulty: Beginner
Time: Approximately 4-6 hours
Approximate Cost: $85
Materials
- 1×6 pine boards
- Wood stain
- Nerf gun display hooks
- Gold wood screws
- Mesh storage bags for darts and accessories
Tools
- Drill
- Stud finder
- Tape measure
- Level
- Dremel with cutoff wheel
- Sandpaper or rotary sander
Why We Built It
We wanted the kids to be able to clean up their Nerf blasters independently while keeping the playroom looking organized.
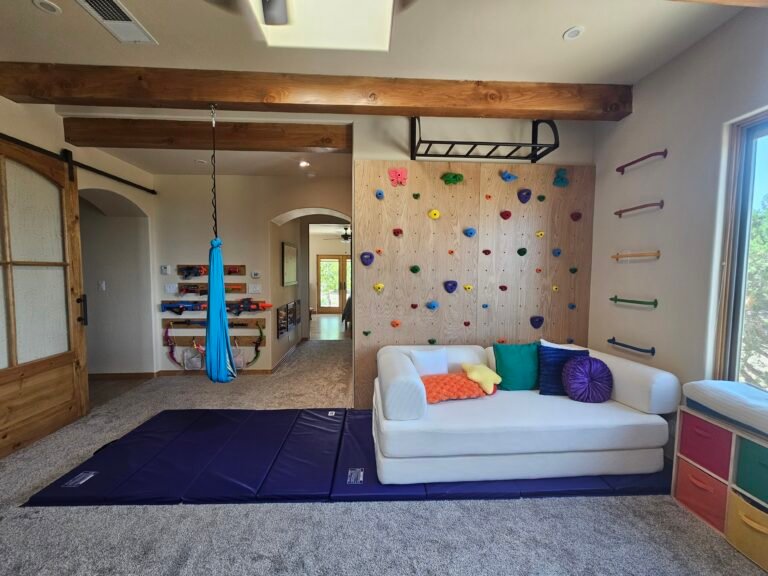
Since the rest of the room already featured stained wood—including the climbing wall, Explore sign, and shelving—I wanted the Nerf storage to become part of the room rather than something we tried to hide.
Step 1: Plan the Layout
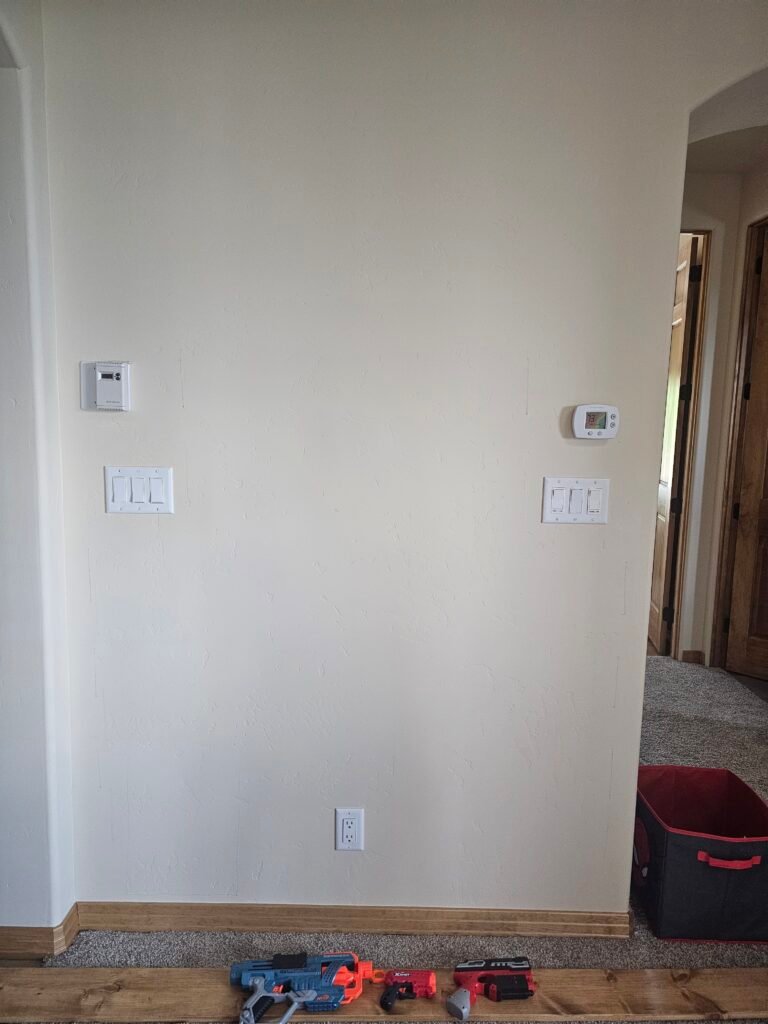
Before cutting or mounting anything, lay all of the Nerf blasters on the floor and experiment with different arrangements. I also lightly traced some outlines on the wall to get a sense of how to space the boards on the wall without covering any of the outlets or switches.
This helped determine:
- How many boards we needed
- The spacing between boards
- The overall size of the display
- Where each hook would eventually be mounted
Taking a little extra time here made the final layout feel balanced rather than crowded. And we were able to identify some Nerf guns that the kids were willing to get rid of, which was a win!
Step 2: Prepare the Boards
Once you’ve determined the number and placement of the boards, cut them down to the correct width.
Lightly sand each board, paying particular attention to the edges and corners.
After sanding, stain the boards and allow them to dry completely.
Using the same stain as the rest of the room helped the display blend in with the climbing wall and other wood accents.
Step 3: Install the Hooks
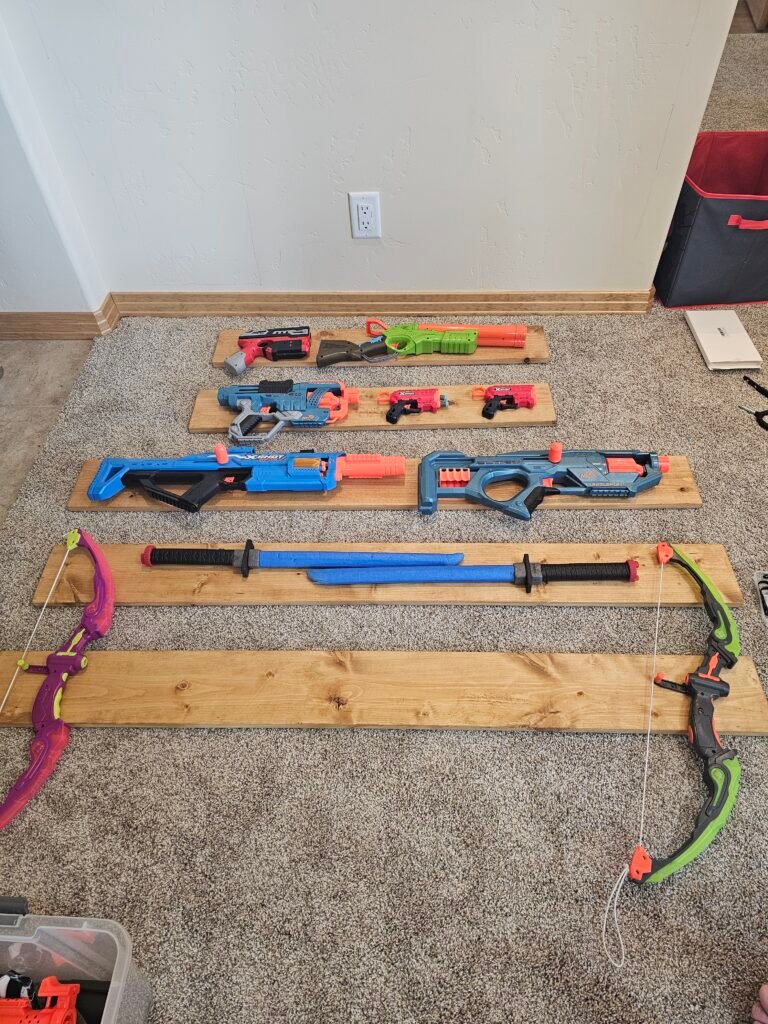
Once the boards were ready, I held each Nerf blaster in place and marked where the hooks needed to go before installing them.
Some blasters only needed one hook, while larger blasters worked better with two.
One Unexpected Challenge
Because the 1×6 boards weren’t especially thick, the screws included with the hooks were slightly too long and extended through the back of the boards.
Rather than replacing every screw, we used a Dremel with a cutoff wheel to trim the excess length off each one.
It added a little extra work, but allowed us to use the hooks we wanted while keeping the backs of the boards flush against the wall.
Step 5: Add Storage for Accessories
To keep darts, magazines, safety glasses, and other accessories organized, I added a few mesh storage bags between the boards.
This gave smaller items a dedicated home without cluttering the display and made cleanup even easier for the kids.
Mount the Boards
Locate the wall studs and use a level to position each board.
We attached each board directly to the studs using gold wood screws because that was what we happened to have. I was pleasantly surprised that the gold screw heads blended into the stained wood much better than I expected, making the fasteners much less noticeable.
Taking time to get the spacing between boards even makes a big difference in the finished appearance.
Finished Project
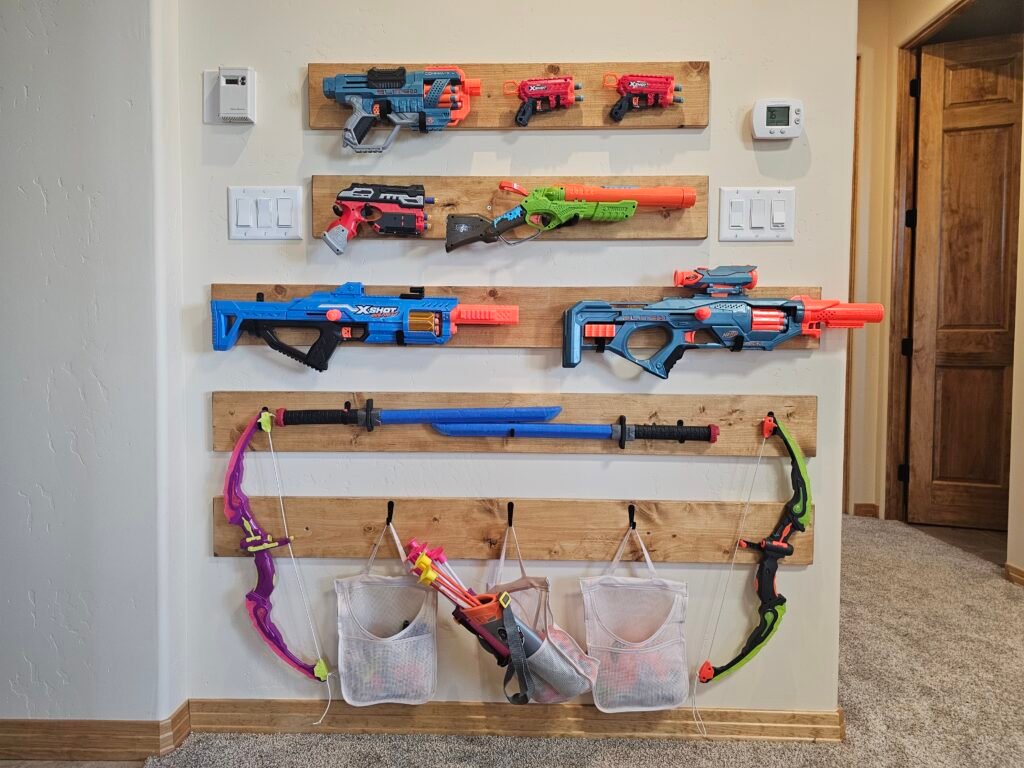
It was surprisingly rewarding to mount the wooden boards to the wall – it looks original to the house and the colorful Nerf guns contrast really nicely with the wood. It also means the Nerf guns are very accessible for the kids to use.
Lessons Learned
- Lay out all of the blasters before mounting anything.
- Use the same stain as the rest of the room to create a cohesive look.
- Check the hook screw length before installation.
- Gold screws blended into the stained wood surprisingly well.
- Giving accessories their own storage keeps the display much tidier.
Related Projects
- DIY Indoor Climbing Wall
- Adventure Playroom Reveal
- Handmade Explore Sign
- Rainbow Playroom Mural