DIY Indoor Climbing Wall for Kids
When we started planning our kids’ adventure-themed playroom, we knew we wanted an indoor climbing wall. We wanted something that was challenging enough to grow with our kids, looked like it belonged in the room, and was sturdy enough that we wouldn’t worry about it every time someone climbed.
Like most DIY projects, it turned out to be much more than simply attaching plywood to a wall. We ended up redesigning the climbing grid, moving framing members, and learning a lot along the way. Looking back, I’m really glad we took the extra time because the finished wall turned out even better than we’d hoped. Also, once we had the initial design, the process of actually making the climbing wall went surprisingly quickly.
Our kids use this climbing wall almost every day. It became the centerpiece of our adventure-themed playroom, and it turned out to be one of the most rewarding DIY projects we’ve ever completed.
Project Details
Difficulty: Intermediate
Time: Approximately two weekends
Approximate Cost: $1000
Finished Size:
- Approximately 94⅛” wide
- 8′ tall
Materials
- Two sheets of cabinet-grade plywood
- 2×4 lumber for furring strips
- Screw-on T-nuts
- Climbing holds
- Wood screws
- Sandpaper
- Satin polyurethane
- Crash mat
- Wood stain
Tools
- Circular saw
- Drill
- Impact driver
- Stud finder
- Tape measure
- Orbital sander
- Countersink bit
- Level
Why We Built It
We wanted a playroom that encouraged movement instead of just screen time.
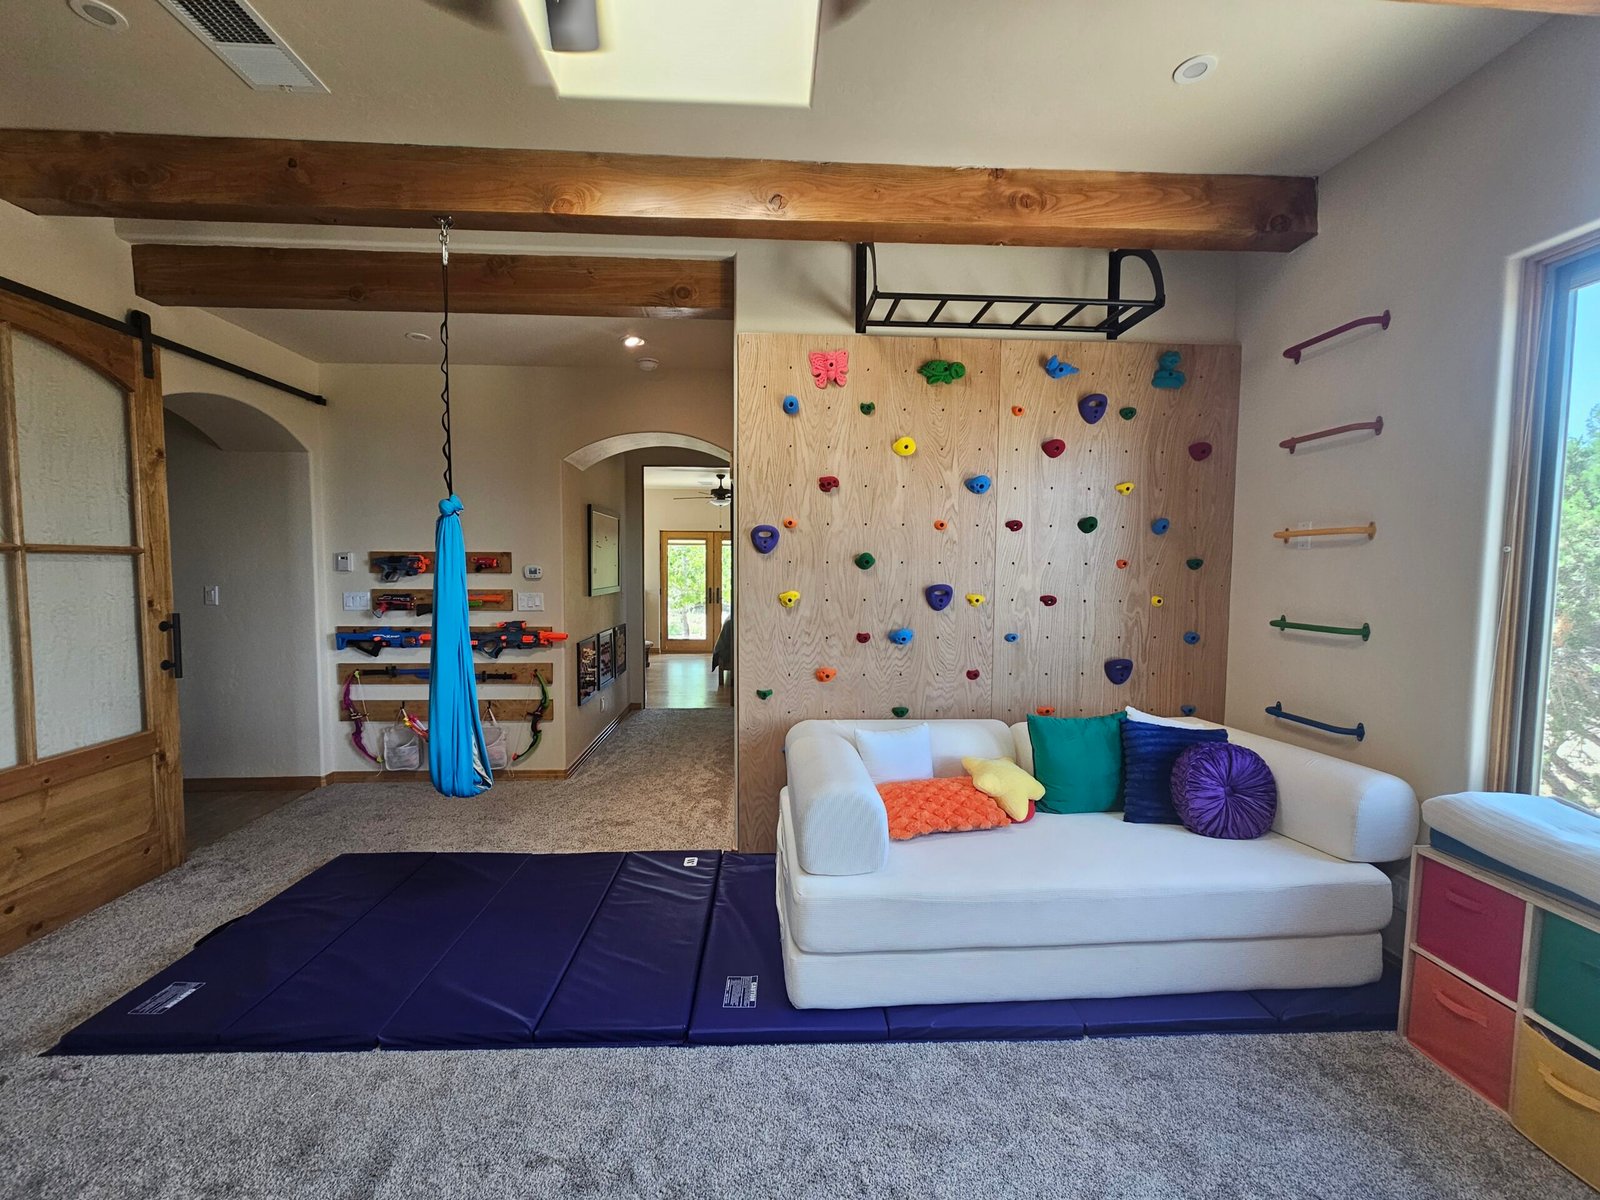
Rather than buying a freestanding climbing structure, we decided to build a permanent wall that blended into the room and worked alongside the monkey bars, travel theme, and reading nook. It came out beautiful, extended the rainbow and natural wood theme, and was surprisingly quick to put together once we landed on a design.
Step 1: Planning the Structure
Before buying any materials, we spent quite a bit of time planning.
One of our goals was to leave the existing base molding in place. Instead of removing it, we started the climbing wall where the molding ended.
That meant we needed a way to create enough space behind the plywood so fingers couldn’t get caught while also making the wall extremely rigid.
We settled on:
- Vertical furring strips on each outside edge
- Horizontal furring strips across the wall attached to studs
This created a consistent gap behind the plywood while giving us solid attachment points.
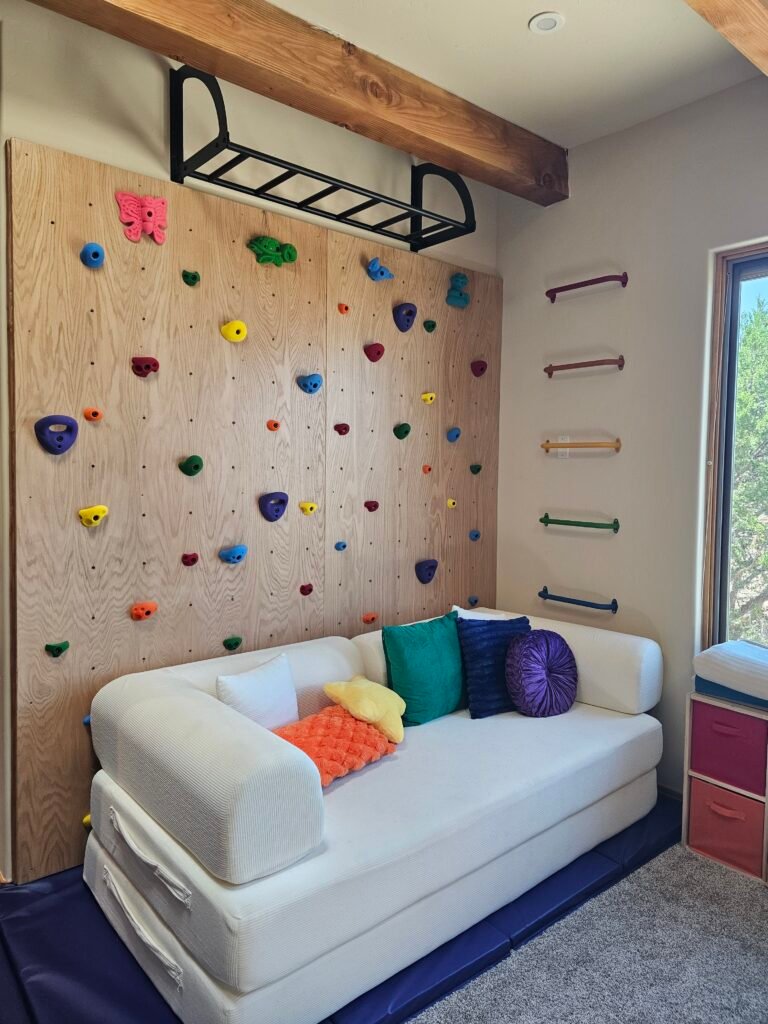
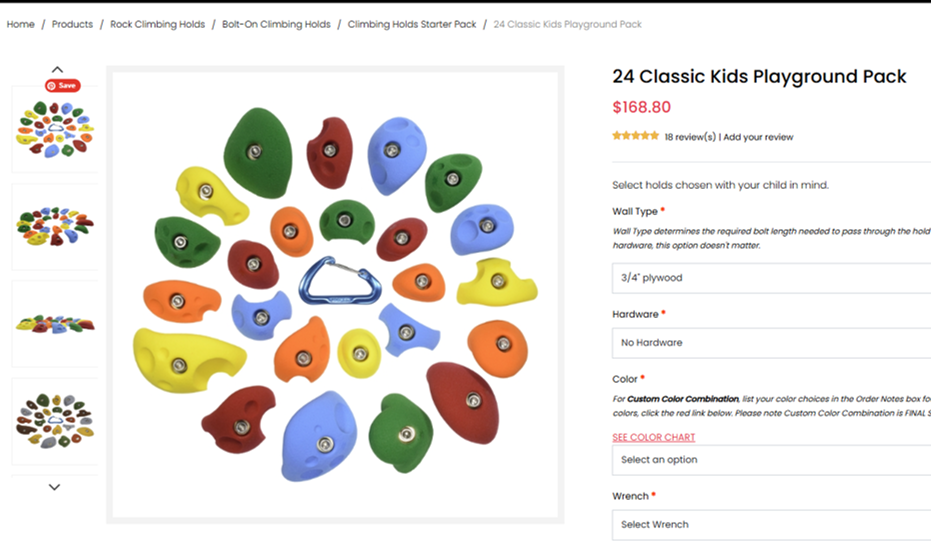
Also, we needed to figure out what holds to buy. We ended up using this set from Atomik and adding 4 large safety holds and 4 fun shapes. If anything, I think this ended up being potentially more holds than we needed. I really appreciated the ability to choose a variety of different colors and was very glad that the rainbow colors went so well with our rainbow theme.
Step 2: Install the Furring Strips
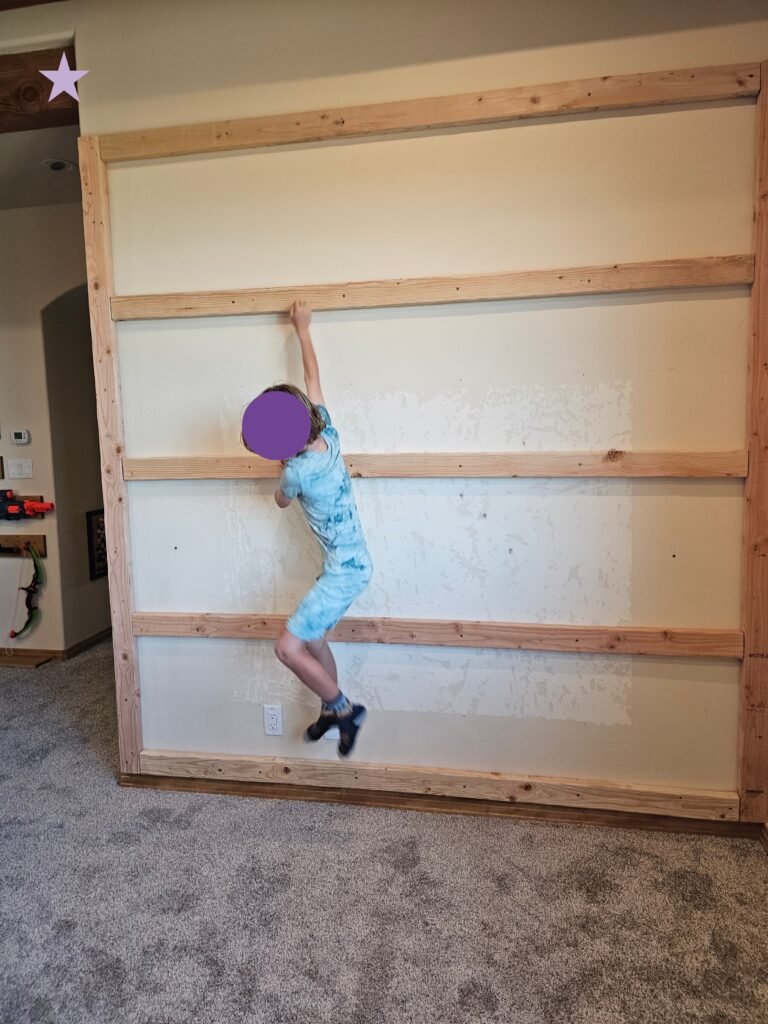
After locating the studs, we mounted the framing.
Before mounting, we sanded the exposed edges of the outside boards since those would remain visible and could be touched by little hands.
One thing we discovered was that one of the outside vertical boards wasn’t perfectly straight. Before installing the plywood, we pulled it inward and fastened it tightly to the center horizontal support so it wouldn’t bow outward.
Step 3: The Grid Problem
This was easily the biggest surprise of the project.
We originally planned an 8-inch square grid.
Unfortunately, once everything was framed, we discovered our wall wasn’t actually 96 inches wide.
It measured 94⅛ inches.
At first, this didn’t seem like a big deal. However, after experimenting with several layouts, we realized that keeping an 8-inch grid would place T-nuts too close to the outside edges or directly beside the plywood seam.
Instead, we redesigned the wall around a 7-inch square grid.
That gave us comfortable spacing around both outside edges while also leaving adequate clearance from the seam between the two plywood sheets.
Designing the grid was the most time-consuming (and frustrating) part of the process, but once we had the design down, the rest went surprisingly smoothly.
Step 4: Adjust the Framing
Changing from an 8-inch grid to a 7-inch grid created one more problem.
One of our horizontal furring strips landed directly where an entire row of T-nuts needed to go.
Instead of compromising the climbing layout, we moved that framing member before drilling any holes.
Our final horizontal framing locations were:
- 24″
- 51″
- 72″
Planning this before drilling saved us from having issues later.
Step 5: Lay Out the Grid
We found a method that made the layout surprisingly straightforward.
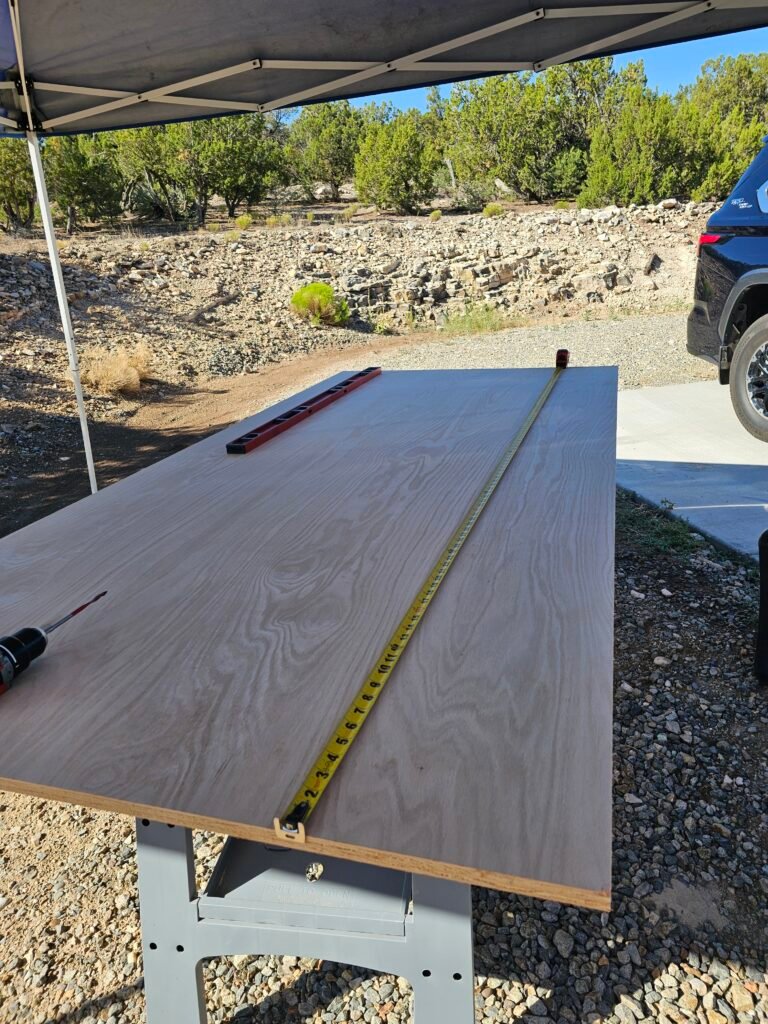
First, we marked the top row and bottom row, measuring every 7 inches.
Once those rows were complete, we used a tape measure to line up each top mark with its matching bottom mark and filled in every row between them using lightly drawn pencil marks where the holes would go.
This kept the entire grid square without having to measure every individual intersection.
We also added a few extra off-grid holes in places where the outside margins ended up wider than expected.
Those gave us additional flexibility when placing climbing holds.
Step 6: Drill and Sand
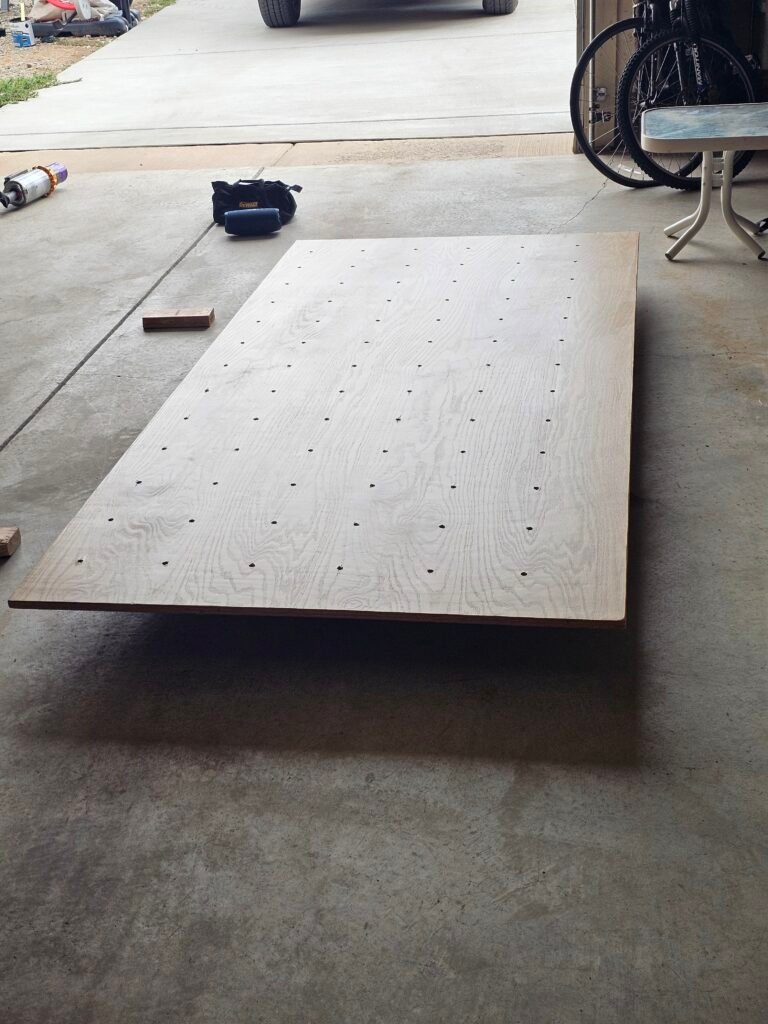
Drilling all of the holes actually went much faster than we expected. One thing I noticed was that the veneer layer of the plywood chipped slightly around many of the holes. I didn’t really mind too much, but if you wanted to prevent that, you could try putting painter’s tape down to support the veneer layer more during drilling.
After drilling:
- We sanded the plywood edges. I was mindful of wanting to protect little fingers from sharp edges and splinters, so rounded the edges some.
- We lightly sanded where we had drilled the holes.
- We cleaned away all dust before finishing.
Step 7: Finish the Plywood
We wanted to preserve the natural wood rather than painting the climbing wall.
We applied 3 multiple coats of satin polyurethane, lightly sanding between coats and then vacuuming the dust away.
Because our desert climate was hot and dry, each coat dried quickly enough that we were able to finish all 3 coats in one day.
Step 8: Install the Screw-On T-Nuts
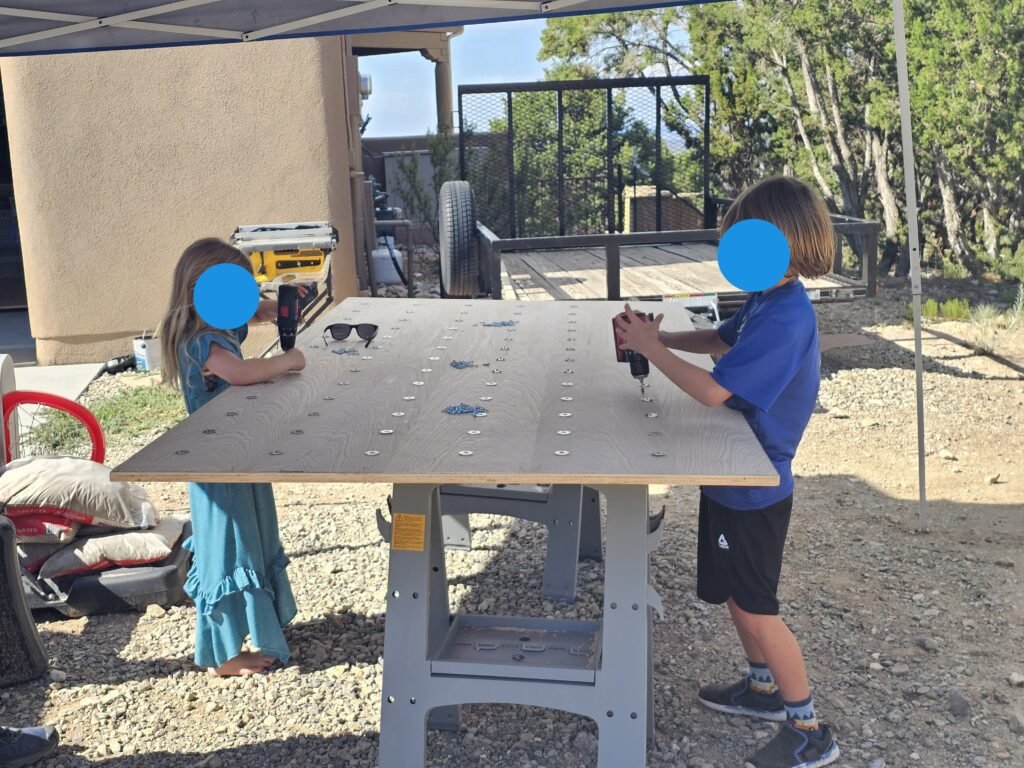
We chose screw-on T-nuts rather than traditional hammered T-nuts. This is slightly more stable and in the end didn’t actually take that much time, so I was glad we chose to do it this way. The kids actually helped us and got to learn a little bit about how to use a drill!
Step 9: Install the Holds
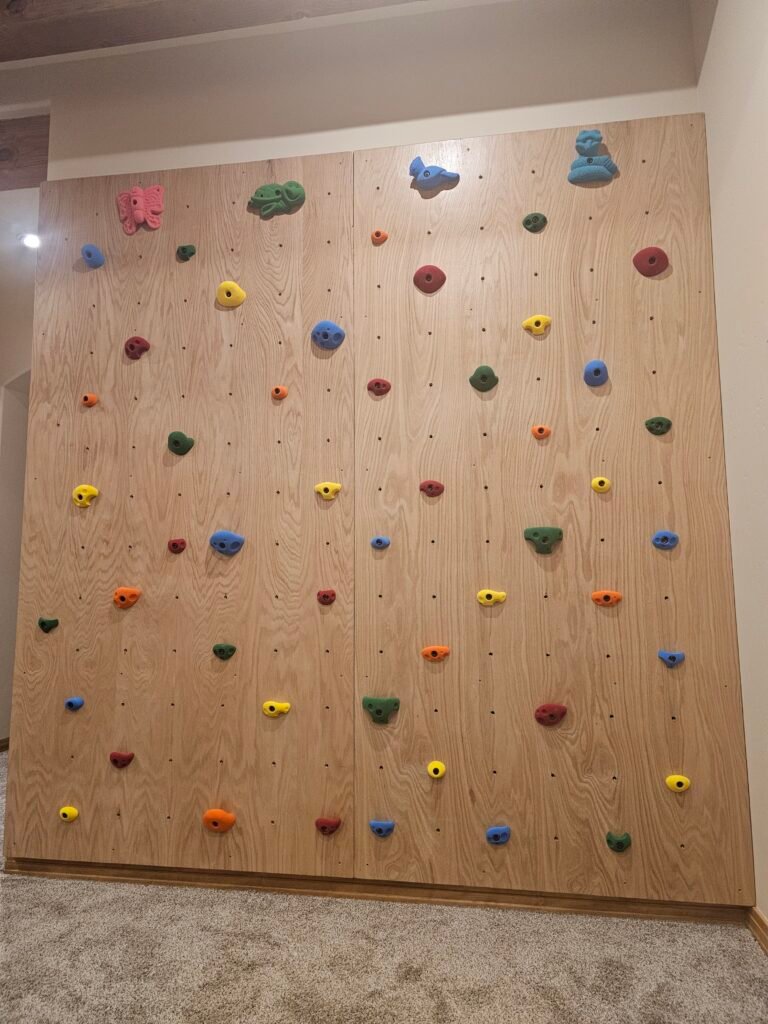
We waited a few days to let the polyurethane cure, and then started by loosely installing all of the climbing holds before tightening everything permanently.
That let us experiment with placement and make sure the routes felt balanced.
We used the Atomik sets, safety holds, and shape holds that we bought.
Step 10: Paint the visible side of the frame
Finally, I used the stain from our moulding to paint the 2×4 that is visible on the side of the climbing wall. This made the 2×4 appear more finished and tied the climbing wall in with the existing wood. This felt important for our play room since this side of the 2×4 is very visible as you enter the room.
Step 11: Safety mat and cushion
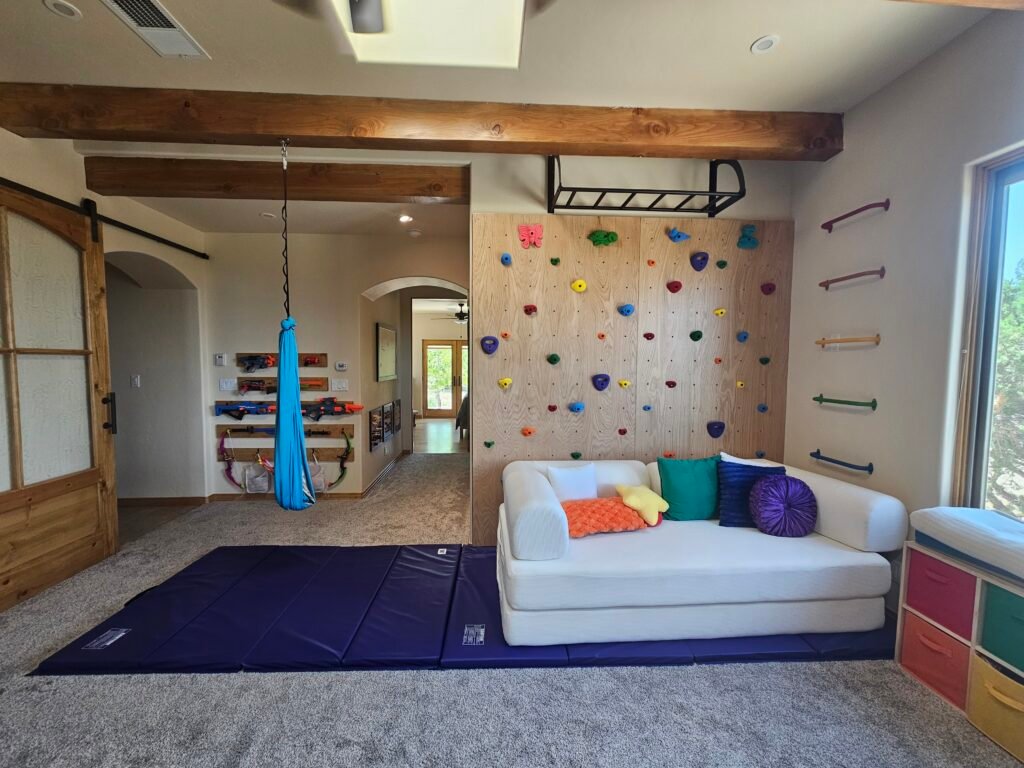
We spent some time choosing safety mats to put beneath the climbing wall to pad falls. I ended up going with a 2” gymnastics mat which mostly seems sufficient for the height of the climbing wall.
In addition, because the wall plus the monkey bars above it ended up being pretty tall (and just for extra reassurance, I opted to get a boneless couch for additional padding. This actually works really really well – I explain why in a separate post here.
Safety Considerations
Some things to note are:
- It’s very important to screw the furring strips to studs for stability
- ¾” plywood is necessary to ensure holds don’t tear out
- We felt it was important to frame the wall to prevent little fingers from getting caught between the plywood and the wall
- Finding appropriate safety mats/padding took a little bit of thought as well
Making it into a Climbing Corner
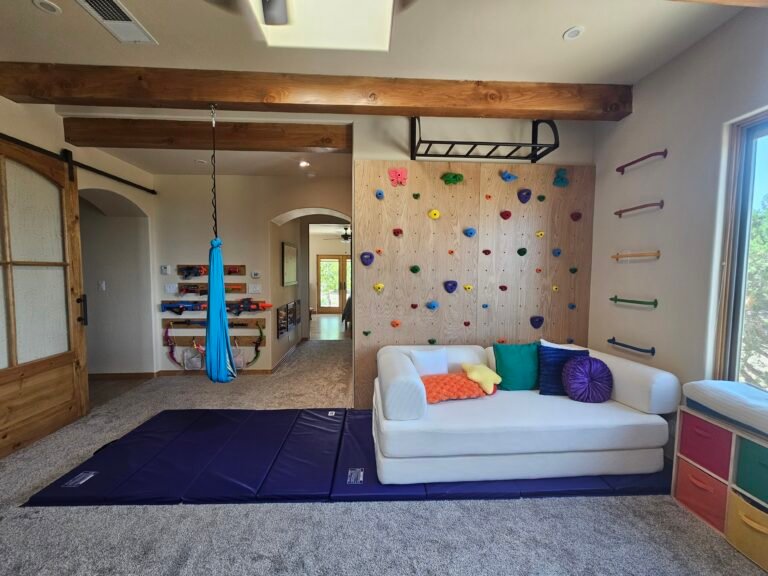
We added vertical and horizontal monkey bars around the climbing wall to make it more of a climbing corner – see separate post here. Additionally, we installed a sensory swing on the other side. The kids get a ton of use out of it and it provides plenty of different options for multiple kids playing at the same time.
Finished Wall
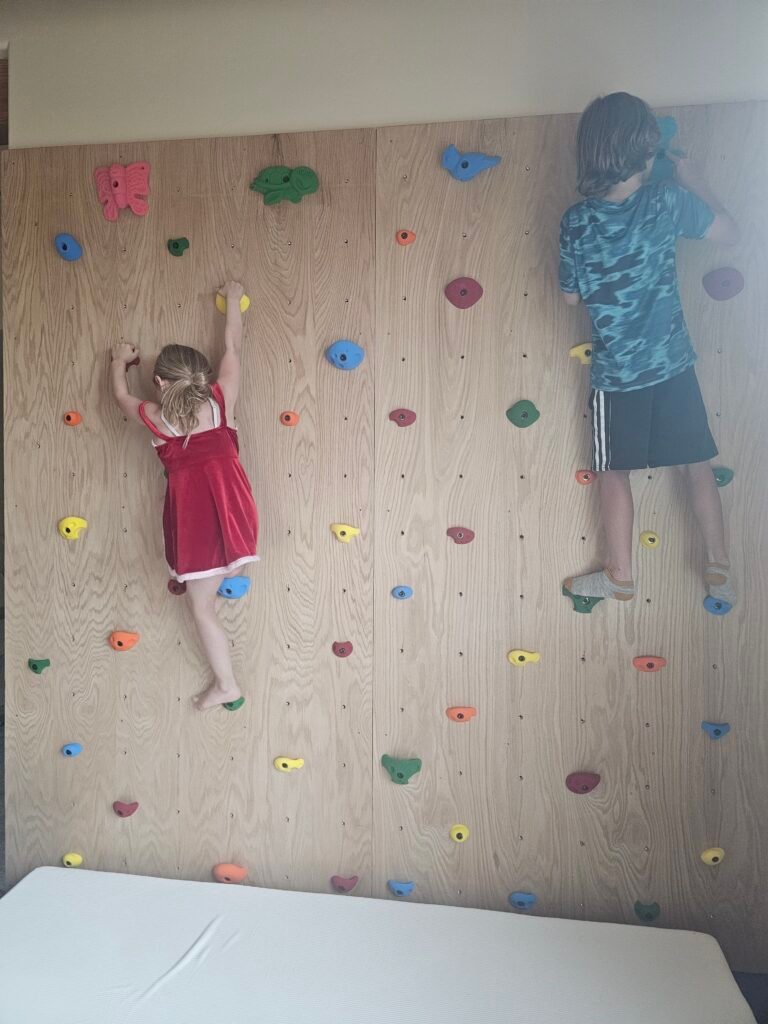
Watching our kids immediately begin climbing made all the planning worthwhile.
The wall feels like it was always meant to be part of the room.
Lessons Learned
- Measure the finished wall before laying out your grid.
- A 7-inch grid worked beautifully for our dimensions.
- Taking the time to plan out the grid and think through where the seam between the plywood boards would land and how large the border would be was a frustrating but important step.
- Screw-on T-nuts were worth using – they didn’t take that much more time and the increased flexibility is well worth it.
- Sand every drilled hole—it only takes a few minutes and makes the finished wall feel much more polished.
- Don’t be afraid to redesign your plan if something isn’t working. We changed our grid halfway through planning, and the finished wall is much better because of it.
- Once the climbing wall is done it’s fairly simple to add some additional elements (like monkey bars and a sensory swing) to make it into an activity corner if you want.
What I’d Do Differently
Honestly, very little.
If I were starting over, I’d measure the finished framing before doing any grid calculations. That would have saved us a lot of redesign time.
Also, I’d put the furring strips on after designing the grid to avoid having to move one of the strips out of the way of where the holes landed.
Even though changing from an 8-inch grid to a 7-inch grid felt frustrating at the time, it ultimately produced a cleaner layout with better spacing around the plywood seam and outside edges.
I’d also put painter’s tape on before drilling the holes to try to preserve the veneer layer a bit better.
Related Projects
- DIY Nerf Wall
- Handmade Explore Sign
- Rainbow Playroom Mural
- Playroom Reveal